Growing roses from seed is a rewarding process that allows gardeners to cultivate unique, one-of-a-kind roses. Jason from Fraser Valley Rose Farm, a professional rose grower, shares his expertise on the step-by-step process of germinating and raising roses from seed. This guide draws on his practical experience, breaking down the essential techniques and tips for success while debunking some common myths about the process.
Understanding the Basics: Why Grow Roses from Seed?
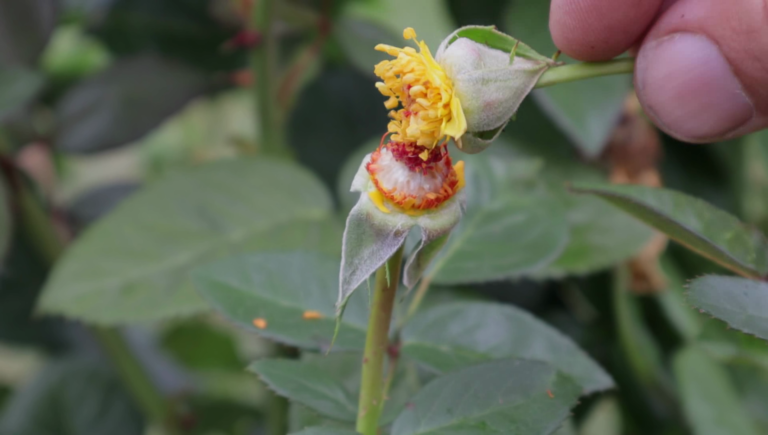
Growing roses from seed can be an exciting venture, especially for those looking to experiment with hybridization or simply enjoy the thrill of nurturing roses from the very beginning. Unlike propagating roses from cuttings, starting from seed offers variability; each seedling carries a unique genetic makeup. However, this unpredictability is also part of the challenge, as no seedling is guaranteed to replicate its parent rose.
The Role of Cold Stratification
The single most important step in growing roses from seed is cold stratification, a process that mimics natural winter conditions to break the seed’s dormancy. Jason explains that this is not a magical technique but a biological necessity. Roses, originating from northern temperate climates, require a period of cold and moisture before they will germinate. Without this, seeds remain dormant.
To stratify your seeds, clean them thoroughly after harvesting them from rose hips. Place them in a moist medium such as potting soil, vermiculite, or perlite, and store them in the refrigerator for two to three months. Maintain a temperature of 2-4°C (35-39°F) during this period. Check weekly toward the end of the stratification period, as some seeds may begin to sprout even in the fridge. He stresses that the seeds need both moisture and cold to break dormancy effectively.
Harvesting and Preparing Seeds
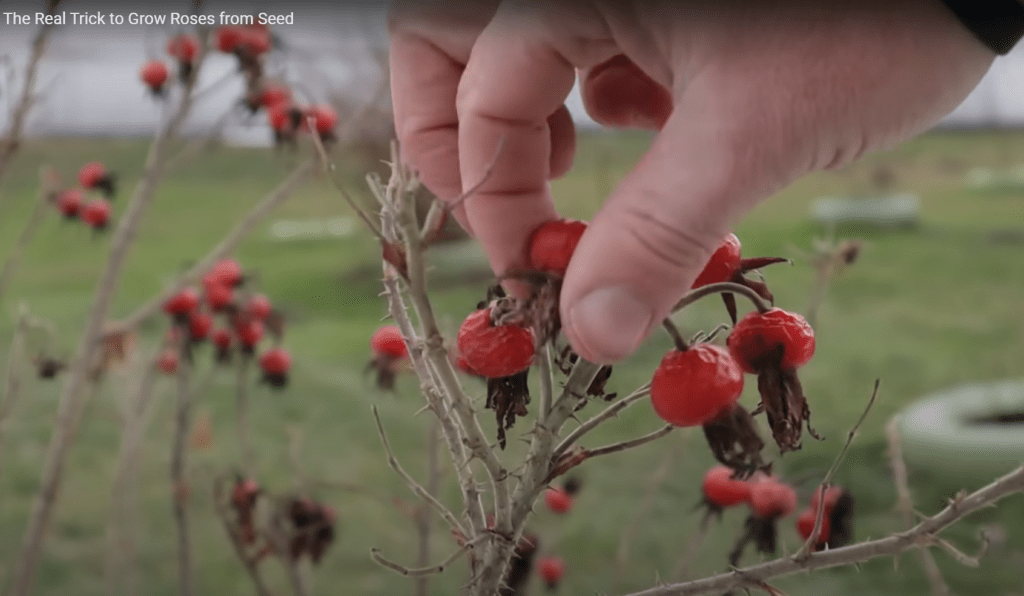
Obtaining quality seeds is another critical step. Rose seeds are harvested from hips, the fruit that forms after a rose blooms and is pollinated. Jason explains that it can take up to three months for hips to ripen, often turning red or orange when ready. Once harvested, the seeds must be cleaned and separated from the hips before undergoing cold treatment.

A common question Jason addresses is whether seeds can be left in the hips during stratification. He clarifies that seeds must be extracted because the hips contain inhibitors that prevent effective stratification. Without proper preparation, the seeds may fail to germinate.
Transplanting Seedlings
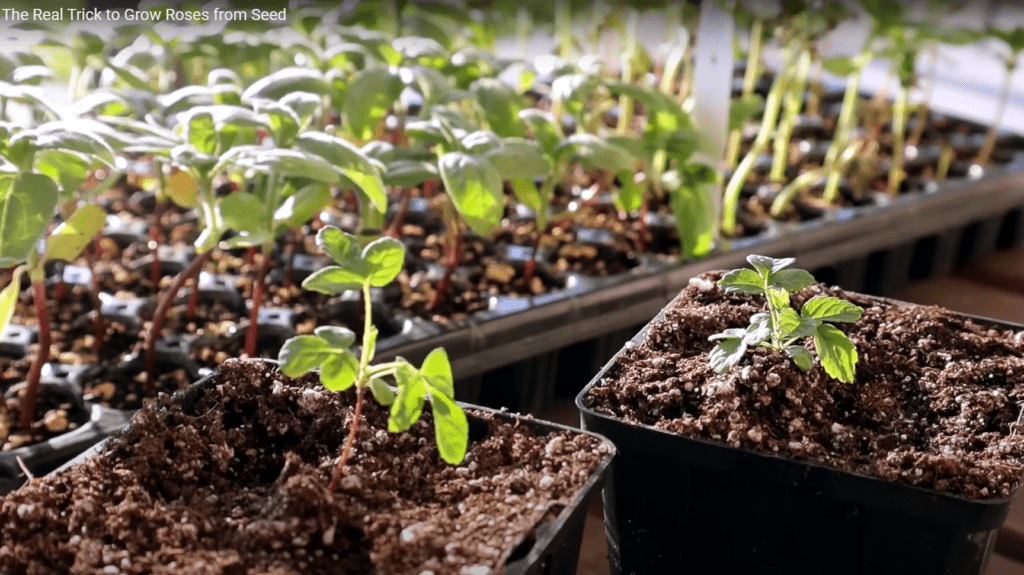
Once stratification is complete and seeds have sprouted, Jason moves on to transplanting. Using a light potting mix, typically peat and perlite, he carefully separates seedlings and repots them into individual containers. Ensuring that seedlings are transplanted at the right depth, with the stem at the soil level, sets them up for healthy growth. Jason stresses handling the delicate roots gently to avoid damage.

Common Misconceptions
Throughout the process, Jason confronts misleading claims and unrealistic expectations about rose seeds. He specifically warns against seeds advertised on platforms like eBay, often featuring unnatural colours or exaggerated characteristics. These seeds are frequently fraudulent or photoshopped, giving buyers false hopes. Even with legitimate seeds, rose offspring are genetically diverse and unlikely to replicate their parent plants exactly.
The Joy of Growing Roses from Seed
Growing roses from seed is not only a process of discovery but also an exercise in patience and care. Each seedling is unique, offering a surprise in bloom shape, colour, and fragrance. Jason emphasizes that while the process requires attention to detail, it is ultimately straightforward when guided by nature’s principles. By following these steps, gardeners can successfully grow roses from seed and experience the satisfaction of nurturing new life from the ground up.


