Growing roses from cuttings is an easy and rewarding way to add beautiful plants to your garden. Whether you’re looking to multiply your favorite rose, try something new, or save money, propagation is an excellent skill for any gardener.
In this guide, we’ll break down the process step by step, so you can confidently grow roses from cuttings and enjoy the satisfaction of creating new plants.
Why Grow Roses from Cuttings?
Propagating roses from cuttings offers several benefits:
- Save money: Instead of purchasing new plants, you can propagate more roses from the ones you love.
- Experiment with new varieties: Grow unique roses that may not be available in nurseries.
- Enjoy a rewarding project: It’s fun, educational, and a great way to deepen your gardening knowledge.
Step 1: Choose the Right Rose and Timing
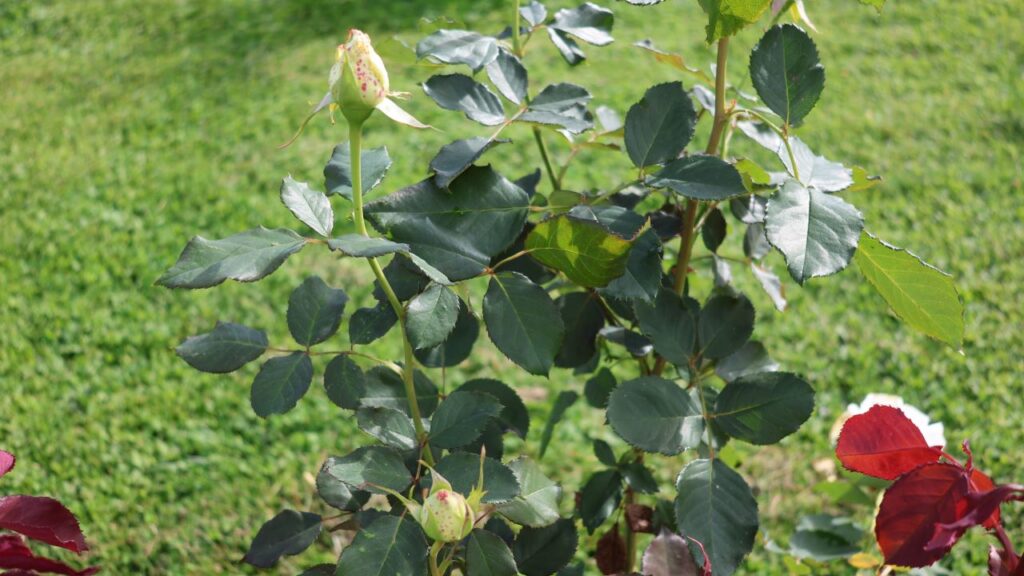
Healthy, vigorous roses free of disease or pests make the best candidates for cuttings. Semi-hardwood cuttings—taken from this year’s growth during late spring to summer—are ideal. These stems are firm but still slightly flexible, making them easier to root.
While the semi-hardwood method outlined here is my preferred method, roses can also be propagated using softwood cuttings, hardwood cuttings, and even air layering. These methods may require slightly different techniques but are equally rewarding for gardeners to explore.
What you’ll need:
- A healthy rose bush
- Sharp, clean pruners
- A container with pre-moistened rooting medium (such as a mix of potting soil and perlite or sand)
- Rooting hormone (optional)
Step 2: Take Your Cuttings
To prepare your cuttings:
- Select a healthy stem: Choose one about the thickness of a pencil that has recently bloomed.
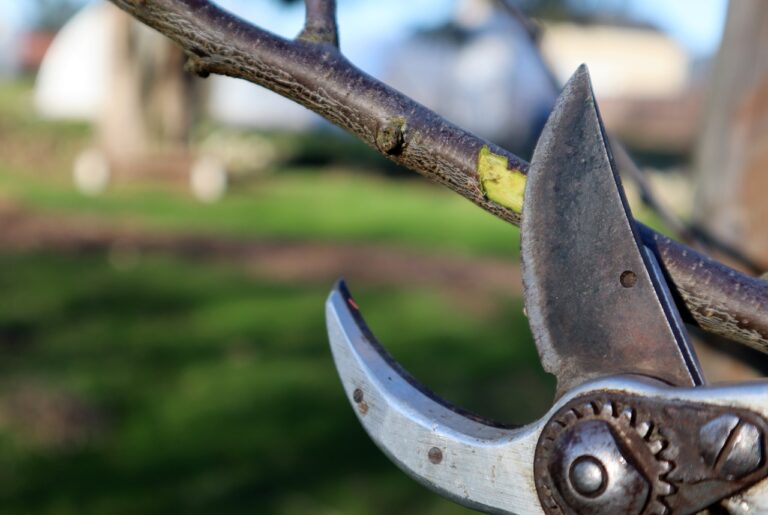
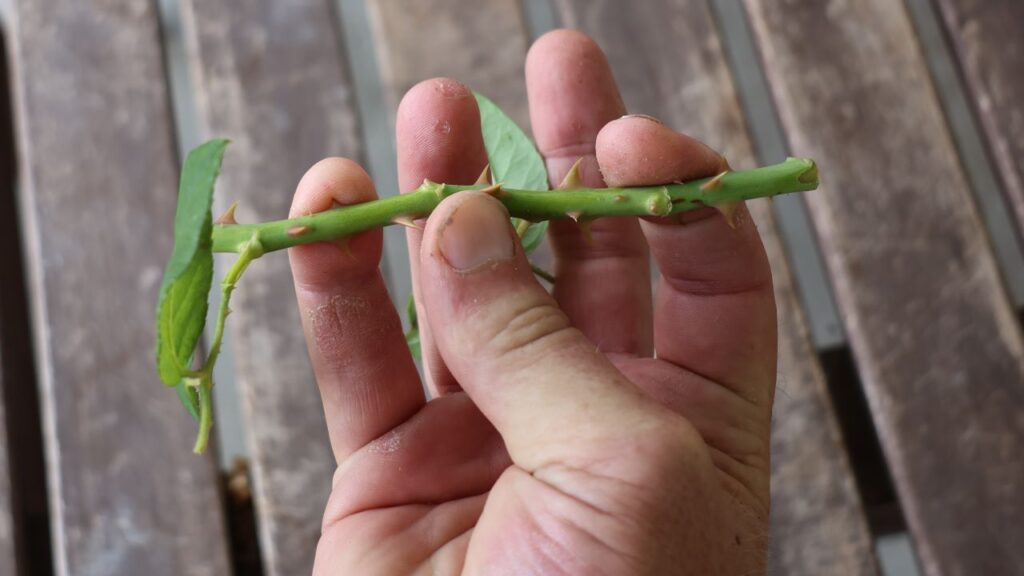
- Cut below a node: Make a clean cut just below a leaf node (the point where leaves grow from the stem). Aim for cuttings 6–8 inches long.
- Remove leaves: Strip off all but the top set of leaves. While it’s better if the cutting retains its leaves, leaf loss is not unusual and often happens as a stress reaction. Don’t panic—this doesn’t necessarily mean the cutting will fail.
- Optional—dip in rooting hormone: Using a rooting hormone containing auxins (natural plant hormones that promote rooting) can speed up the process and improve success rates. Because the cutting relies on stored energy and nutrients until it roots, faster rooting can make the difference between success and failure.
Step 3: Plant the Cutting
Planting your cutting correctly is key to its success:
- Prepare the container: Use a pot filled with well-draining rooting medium that has been moistened in advance. Avoid overwatering; the soil should feel damp but not soggy.
- Insert the cutting: Push the base of the cutting 2–3 inches into the pre-moistened soil, ensuring it’s stable.
- No fertilizer yet: Fertilizer isn’t needed at this stage, as the cutting lacks roots to absorb nutrients.
Step 4: Create a Humid Environment
Cuttings thrive in a humid environment, which helps prevent them from drying out while they root.
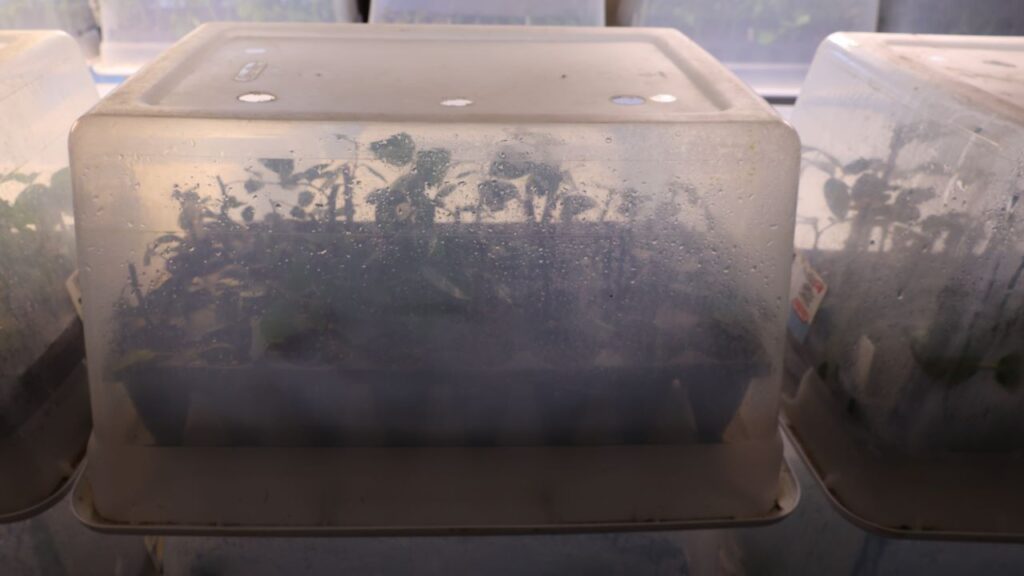
- Cover the cutting: Place a clear plastic bag or container over the pot to trap humidity, but ensure it doesn’t touch the cutting.
- Provide ventilation: Leave small openings to allow air circulation and reduce the risk of mold.
- Find the right spot: Keep the cutting in a warm, bright location out of direct sunlight.
Ideal rooting temperatures: 70–75°F (21–24°C) provide the best conditions. Temperatures that are too warm can cause cuttings to dry out quickly or develop shoots before roots. Temperatures that are too cold can slow rooting and increase the risk of rot.
Step 5: Wait for Roots
This step requires patience, as rooting can take 4–8 weeks. Here’s what to expect:
- Some leaf loss is normal: Don’t worry if your cutting drops a few leaves during this time—it’s a natural stress response.
- Watch for root formation first: New shoots can be an encouraging sign, but they don’t always indicate success. Roots need to develop first for the cutting to thrive.
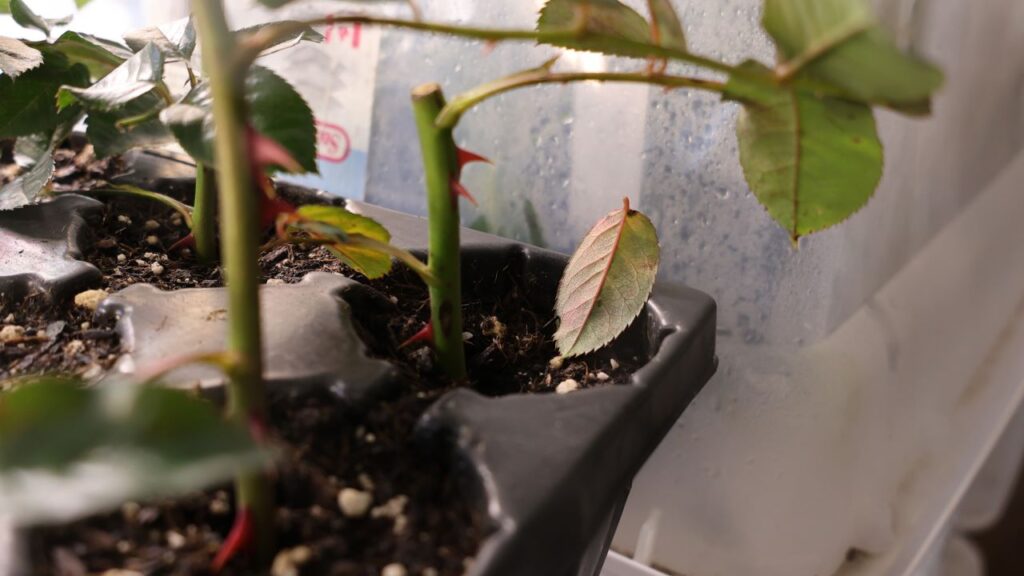
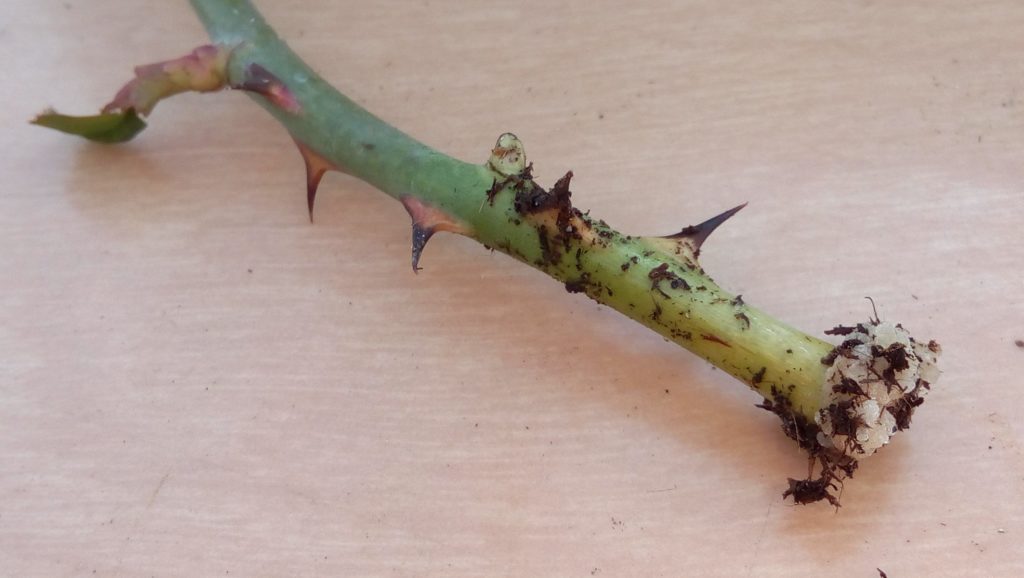
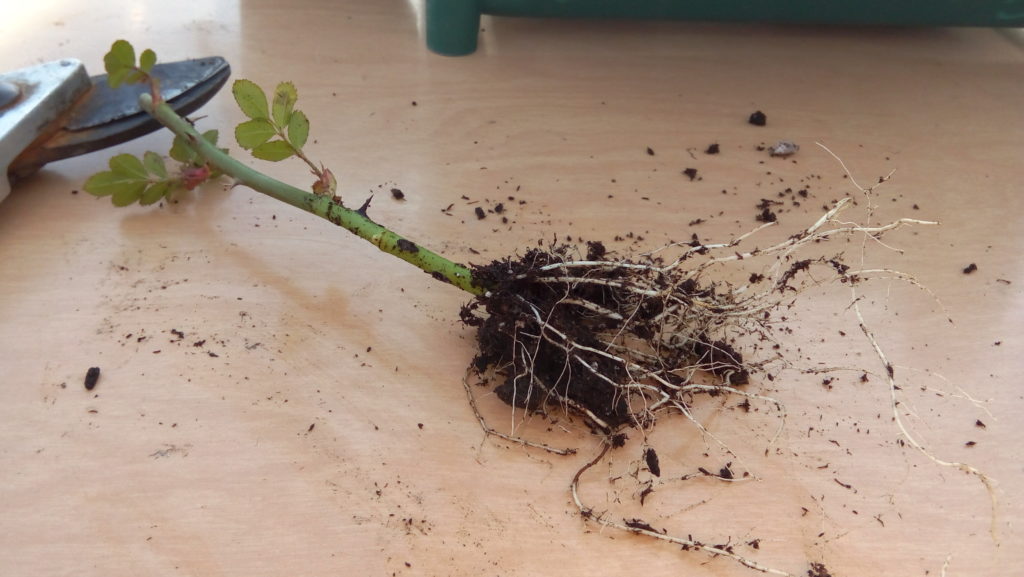
How to check for roots: After a few weeks, give the cutting a gentle tug. Resistance means roots are forming. In the picture below you can see the earliest stages: callus formation. This is a good sign, and roots will follow.
Step 6: Care for Rooted Cuttings
Once roots have formed, it’s time to help your cutting transition to its new environment:
- Harden off the plant: Gradually expose the cutting to outdoor conditions over the course of a week.
- Transplant carefully: Move the rooted cutting into a larger pot or directly into your garden, ensuring the soil is well-draining.
- Water consistently: Keep the soil evenly moist while the plant establishes itself, but avoid overwatering.
FAQs About Growing Roses from Cuttings
Do I Need Fertilizer for Cuttings?
No, fertilizer isn’t required until the cutting has established roots. Nutrients are unnecessary during the rooting phase and can sometimes hinder success. Here’s a video on the topic of nutrition for cuttings.
What’s the Best Time to Take Cuttings?
Late spring through summer is ideal for semi-hardwood cuttings, which root more easily than older or younger stems.
Can I Use Water Instead of Soil?
Yes, water propagation is a reasonable method. However, soil or rooting medium often produces stronger roots better suited for transplanting.
Why Are Sanitation and Clean Tools Important?
Using clean pruners and containers helps prevent fungal and bacterial infections, which can reduce the success of your propagation efforts. Here’s and article on why from the University of Minnesota Extension.
Final Thoughts
Growing roses from cuttings is an enjoyable and cost-effective way to add more roses to your garden. By following these steps and keeping an eye on the right conditions, you’ll soon be propagating roses with confidence. Why not give it a try? With a little patience, you might just grow your next favorite rose.

